
CALL US TODAY · 909-701-9977
DIY Tutorial| How to Add Downspout to Gutter
If you're wondering how to add downspout to gutter, it's a straightforward process that can significantly improve your home's drainage system. Effective rainwater management is crucial for maintaining the structural integrity of a building and preventing water damage. One key component of a well-designed gutter system is the addition of downspouts. These vertical pipes play a vital role in directing rainwater from the gutters down to the ground, efficiently channeling it away from the foundation and landscape. The importance of adding downspouts to a gutter system cannot be overstated, as they help prevent issues such as soil erosion, basement flooding, and foundation damage.
How To Add Downspout To Rain Gutter

Adding a downspout to a rain gutter is a relatively straightforward process. Here's a general guide on how to do it:
Materials and Tools:
- Downspout
- Elbows (if needed for redirection)
- Downspout brackets
- Screws
- Drill
- Hacksaw or tin snips (to cut downspout to the desired length)
- Sealant or caulk
- Level
- Measuring tape
Steps:
Plan the Downspout Placement:
- Determine the best location for the downspout. This is often in a corner of the house or at the end of a long gutter run.
- Ensure that the downspout directs water away from the foundation of the house.
Measure and Cut the Downspout:
- Measure the distance from the bottom of the gutter to the desired location on the ground.
- Cut the downspout to the measured length using a hacksaw or tin snips.
Install Downspout Brackets:
- Attach downspout brackets to the side of the house to support the downspout. Space them according to the manufacturer's instructions.
Attach the Downspout to the Gutter:
- Connect one end of the downspout to the gutter outlet. You may need to use an elbow if the downspout needs to turn to reach the wall.
Secure the Downspout:
- Use screws to secure the downspout to the brackets. Make sure it is level and securely attached.
Redirect if Necessary:
- If the downspout needs to redirect water away from the foundation, use elbows or additional downspout pieces as necessary.
Secure the Bottom of the Downspout:
- If the downspout extends to the ground, consider adding a splash block or an extension to ensure water is directed away from the foundation.
Seal Joints:
- Apply sealant or caulk to the joints and seams to prevent leaks.
Test the System:
- Once everything is installed, run water through the gutter system to ensure that the downspout effectively directs water away from the house.
How To Add Downspout To Gutter

Determine Downspout Location:
- Identify the best location for the downspout. It's typically installed at the end of a gutter run or in the middle if the gutter is long.
- Consider the slope of the ground to ensure proper drainage away from the foundation.
Mark the Gutter:
- Mark the location for the downspout on the inside of the gutter using a pencil or chalk.
Install Gutter Outlet:
- If your downspout will connect to a gutter outlet, position the outlet over the marked location.
- Secure the gutter outlet in place using screws.
Cut the Gutter:
- If you are not using a gutter outlet, you may need to cut a hole in the gutter for the downspout. Use a drill to make a starter hole and then a hacksaw to cut out the opening.
Attach Downspout Elbow (if needed):
- If the downspout needs to divert around an obstacle, use a downspout elbow. Connect it to the bottom of the gutter outlet.
Cut Downspout to Length:
- Measure and cut the downspout to the desired length using a hacksaw. Ensure that the downspout reaches the ground or directs water to a designated drainage area.
Install Downspout:
- Place the downspout into the gutter outlet or the hole in the gutter.
- Secure the downspout to the outlet or gutter using screws.
Secure the Downspout to the Wall (if necessary):
- Use brackets or straps to secure the downspout to the side of the house. This provides additional stability and prevents the downspout from pulling away.
Seal Joints:
- Apply a suitable sealant or caulk to the joints between the gutter outlet and the downspout to prevent water leakage.
Optional: Use Rivets (if applicable):
- If your gutter system uses rivets, use a pop rivet gun to secure the downspout to the gutter outlet. This adds extra stability.
Test the System:
- Run water through the gutter and downspout to ensure proper flow and drainage.
Installing The Downspout
Step-by-step instructions for downspout installation:
Cutting the Gutter to Create an Opening:
a. Measure and mark the desired location for the downspout on the gutter.
b. Use a tape measure and pencil to mark the cutting lines on the gutter.
c. Wear safety glasses and gloves for protection.
d. Use tin snips or a hacksaw to carefully cut along the marked lines.
e. Smooth any sharp edges with a file to prevent injury.
Attaching the Downspout to the Gutter:
a. Place the downspout outlet over the cut opening in the gutter.
b. Align the outlet with the opening and secure it in place.
c. Use screws or pop rivets to fasten the downspout outlet to the gutter securely.
Securing the Downspout in Place:
a. Measure the length of the downspout needed to reach the ground.
b. Cut the downspout to the appropriate length using tin snips or a hacksaw.
c. Attach the downspout to the outlet securely using screws or pop rivets.
d. If the downspout is in sections, connect them using compatible connectors.
e. Secure the downspout to the wall using brackets or straps at regular intervals.
Guidance on Adapting the Process for Rain Gutters and Aluminum Gutters:
For Rain Gutters:
a. Ensure that the downspout size matches the outlet size on the rain gutter.
b. Follow the same steps for cutting and attaching the downspout, considering the specific material of the rain gutter.
c. Use appropriate connectors if needed, ensuring compatibility with rain gutter materials.
For Aluminum Gutters:
a. Aluminum gutters require special care to avoid corrosion. Use stainless steel or aluminum screws and connectors. If you want professional guidance then JmPressureWashers is the best choice.
b. Apply a silicone sealant to the cut edges of the aluminum gutter to prevent rusting.
c. When securing the downspout, choose fasteners that are resistant to corrosion.
Tips for a Secure and Weather-Resistant Installation:
Sealing Joints:
a. Apply a waterproof sealant at joints and connections to prevent leaks.
b. Check for any gaps and seal them properly to enhance weather resistance.
Slope the Downspout:
a. Ensure that the downspout has a slight slope towards the ground to facilitate proper water drainage.
b. This prevents water from accumulating in the downspout.
Use Durable Fasteners:
a. Opt for screws and connectors made from materials resistant to rust and corrosion.
b. This ensures the longevity and stability of the downspout installation.
Regular Maintenance:
a. Periodically inspect the downspout and gutter system for debris and blockages.
b. Clean out any leaves or debris to prevent clogging and maintain optimal water flow.
DIY Approach for Adding Downspouts
Safety Precautions:
Protective Gear:
Prioritize safety by wearing appropriate protective gear, including gloves and safety glasses, to shield yourself from sharp edges and debris.
Ladder Safety:
Use a sturdy ladder on a level surface and have a helper stabilize it if possible. Avoid overreaching to prevent accidents.
Weather Considerations:
Plan your project on a dry day to ensure a safe working environment. Avoid working during adverse weather conditions, such as rain or strong winds.
Tool Usage and Handling:
Essential Tools:
Gather necessary tools such as a measuring tape, hacksaw, drill, screws, downspout brackets, and a level.
Measuring and Marking:
Accurately measure the length needed for the downspout and mark the positions for installation. Double-check measurements before cutting to avoid mistakes.
Cutting and Installing:
Use a hacksaw to cut the downspout to the required length. Attach downspout brackets securely to the wall using a drill and screws, ensuring proper alignment with the marked positions.
Connecting Sections:
If using multiple sections, connect them with appropriate connectors, ensuring a snug fit. Apply sealant to joints to prevent leaks.
Securing the Downspout:
Attach the downspout to the brackets securely, checking for proper slope towards the drainage point. Use a level to ensure the downspout is straight.
Common Challenges and Troubleshooting Tips:
Clogged Downspouts:
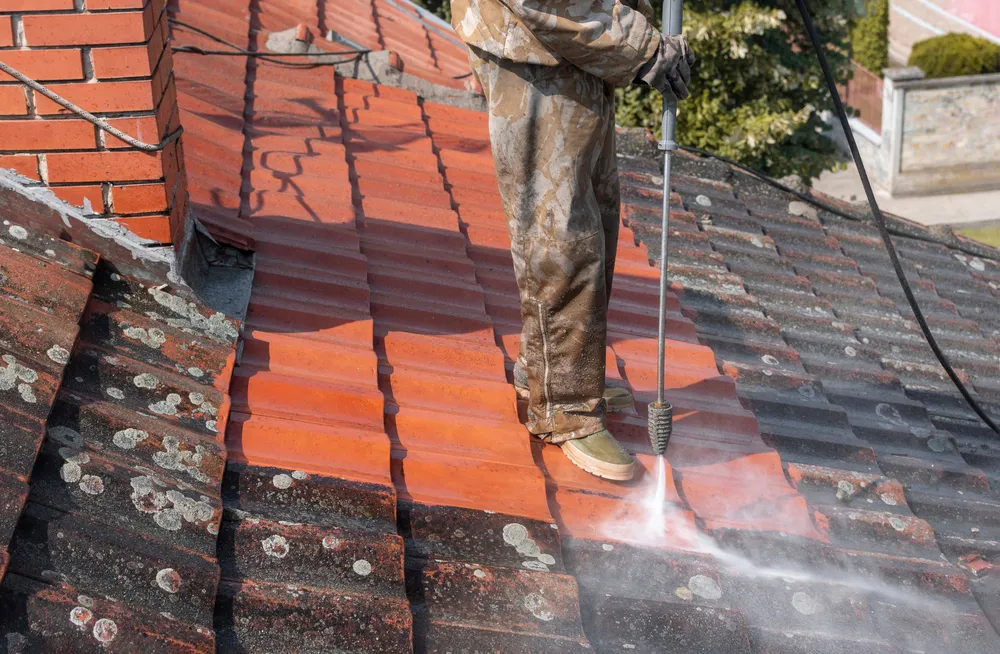
Regularly inspect and clean downspouts to prevent clogs. Use a plumbing snake or a high-pressure hose to clear any debris.
Water Leakage:
If experiencing leaks, inspect joints and connections for gaps. Apply waterproof sealant or replace damaged sections as needed.
Inadequate Slope:
Ensure the downspout slopes at least 1/4 inch per foot towards the drainage point. Adjust brackets and reinstall if necessary.
Freezing Issues:
Install heat tapes to prevent freezing in colder climates. Ensure proper insulation around the downspout.
Conclusion
The key steps in adding a downspout to a gutter involve careful planning, measuring, and securing the necessary materials. Begin by identifying the optimal location for the downspout, ensuring it aligns with the slope for effective drainage. Measure and cut the downspout to the required length, and attach it securely to the gutter using appropriate brackets and screws. Feel free to
contact us for any type of service or the queries like
how to add downspout to gutter.
FAQs
Q1: Why Should I Add A Downspout To My Gutter?
A1: Adding a downspout helps direct rainwater away from your home's foundation, preventing potential water damage and ensuring proper drainage.
Q2: What Materials Do I Need To Add A Downspout?
A2: You'll need a downspout, elbows, brackets, screws, a measuring tape, and a saw for cutting the downspout to the required length.
Q3: Where Should I Place The Downspout On My Gutter?
A3: Ideally, place the downspout at the lowest point of the gutter to ensure efficient drainage. Consider the slope of your landscape for optimal water flow.
Q4: How Do I Measure And Cut The Downspout?
A4: Measure the distance from the gutter to the ground and cut the downspout accordingly using a saw. Ensure a slight angle away from the house for proper water flow.
Q5: What Is The Best Way To Secure The Downspout To The Gutter?
A5: Use brackets and screws to securely attach the downspout to the gutter. Make sure it's tightly fastened to withstand weather conditions.
Q6: Can I Add Multiple Downspouts To A Single Gutter?
A6: Yes, especially if your gutter covers a large area. Adding multiple downspouts ensures even water distribution and prevents overflow.
JM Pressure Washers Blog


Tagline here
Contact Us
Pressure Washing Services For:
Riverside County | San Bernardino County
Orange County | Los Angeles County
Rancho Cucamonga, California
Riverside, CA
Business Hours
- Mon - Fri
- -
- Saturday
- Closed
- Sunday
- -